You’ve done it. You’ve finally invested in a professional car ceramic coating. Whether it was a DIY weekend project or a high-end professional application, your car now sports a mirror-like finish that makes heads turn. It feels slick, the colors look deeper, and the water beads off like magic.
However, there is a common myth circulating in the automotive world that once a car is coated, it becomes “self-cleaning” or “indestructible.” While ceramic coatings (liquid polymers that chemically bond to your factory paint) are incredibly durable, they are not armor plating. To keep that “just-coated” glow for years rather than months, you need a strategy. This guide will walk you through the essential steps to maintaining your investment.
What to Do (and Not Do) in the First 7 Days
Avoiding Water and Moisture
Most ceramic coatings require a full 24 to 48 hours to initially “set,” but the full curing process can take up to seven days. During this window, you must keep the car dry. If it rains or if morning dew settles on the surface, the minerals in the water can react with the curing solvent, potentially leading to permanent water spotting or a “haze” in the finish.
Hands Off the Surface
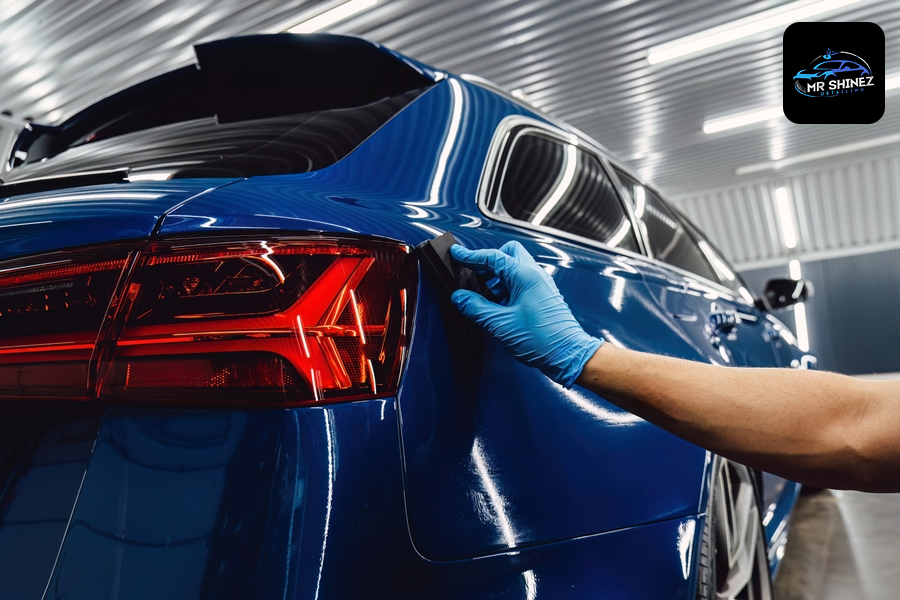
It is incredibly tempting to run your hand across the hood to feel that legendary slickness. Resist the urge! The natural oils and salts from your skin can interfere with the cross-linking of the molecules. Furthermore, even minor pressure during the first few days could theoretically mar the finish while it is still “soft.” Give the chemistry time to work its magic without physical interference.
Dealing with Unexpected Contaminants
Life happens. Even if you park in a garage, a stray bird dropping or a splash of tree sap might find its way onto your hood during the cure period. If this happens, do not leave it. The acids in bird droppings are highly corrosive. Use a gentle, pH-neutral quick detailer, caravan detailing in Sydney and a plush microfiber towel to very lightly “lift” the contaminant away. Do not scrub; the goal is to remove the threat with the least amount of friction possible.
Mastering the Two-Bucket Wash Method
Choosing the Right Shampoo
Not all soaps are created equal. Many “car wash and wax” products found at big-box stores contain heavy silicones, waxes, or gloss enhancers. On a ceramic-coated car, these are actually counterproductive. They can “clog” the coating, making it look dull and killing the hydrophobic (water-beading) effect. Always opt for a pure, pH-neutral car shampoo. You want a high-lubricity soap that breaks down dirt without leaving anything behind.
The Mechanics of the Two-Bucket System
The setup is simple: one bucket filled with soapy water and a second bucket filled with plain, clean water. Each time you wipe a section of the car with your wash mitt, rinse it in the plain water bucket first. This knocks off the grit and dirt you just pulled from the car. Only then do you dunk it back into the soapy bucket. This ensures that you are always touching your paint with a clean mitt, significantly reducing the risk of scratching the coating.
The “Top-Down” Approach
Always start washing from the roof and work your way down. The lower panels of a car, the rocker panels, bumpers, and wheel arches, collect the heaviest road grime and metallic particles. By starting at the top, you ensure that the dirtiest water flows downward and away from the clean areas, and you save the most contaminated parts of the car for the very end of the wash.
Safe Drying Practices to Prevent Marring
Using Forced Air
The absolute safest way to dry a ceramic-coated car is to not touch it at all. Because the coating is so hydrophobic, water hates staying on the surface. A high-powered leaf blower or a dedicated automotive air dryer can “push” the water right off the panels. This is especially useful for getting water out of side mirrors, emblems, and lug nuts where towels can’t reach.
High-GSM Microfiber Towels
If you prefer using a towel, quality is everything. GSM stands for “Grams per Square Meter,” and for drying, you want something plush (usually 500 GSM or higher). Instead of dragging the towel across the paint, try the “pat dry” method. Lay the towel flat over a wet area and gently pat it to soak up the water. This eliminates the friction that causes fine scratches.
The Role of Ceramic Boosters
Every 3 to 4 months, it is a great idea to apply a “Ceramic Booster” or “SiO₂ Sealant.” Think of this as a sacrificial layer. These sprays are designed to bond to the existing coating, refreshing its slickness and hydrophobic properties. They act as a shield, taking the brunt of the environmental “abuse” so your primary coating doesn’t have to.
Common Maintenance Mistakes That Kill Coatings
The Danger of Automatic Brush Washes
If you take your coated car through an automatic wash with spinning brushes, you are effectively paying someone to ruin your paint. Those brushes are often laden with grit from the muddy truck that went through five minutes before you. They will scour the surface of your coating, leaving behind thousands of tiny scratches that will kill the gloss and reduce the coating’s lifespan. If you must use an automatic wash, go “touchless” only.
Avoiding Harsh Chemicals
Ceramic coatings are chemically resistant, but they aren’t invincible. High-alkaline cleaners (like some heavy-duty degreasers) or highly acidic wheel cleaners can gradually “eat” through the coating over time. Always reach for the mildest cleaner that gets the job done. If you wash your car regularly, a gentle pH-neutral soap is all you should ever need.
Saying Goodbye to Traditional Wax
Many people think that putting a layer of high-quality Carnauba wax over a ceramic coating will make it even shinier. In reality, it does the opposite. Ceramic coatings are designed to be “low energy” surfaces that repel substances. Wax will not bond properly to a coating; it will just smear, attract more dust, and mask the superior water-beading performance of the ceramic layer. Stick to SiO₂-based boosters instead.
Seasonal Maintenance and Professional Inspections
Decontaminating the Surface
Over time, microscopic metallic particles from brake dust and industrial pollution can become embedded in the surface of the coating. You’ll notice this if the paint feels “sandpapery” even after a wash. Once or twice a year, use a dedicated iron remover spray from a professional caravan detailing service. This chemical reacts with the metal particles and dissolves them without you having to scrub.
Identifying “High-Spot” or Wear Signs
Keep an eye on how water behaves on your car. If you notice a specific area where water is “pooling” or “sheeting” rather than beading, the coating may be contaminated or wearing thin. This is common on the lower doors and rear bumper. Identifying these spots early allows you to deep-clean those specific areas and apply a booster to even out the protection.
Scheduling an Annual Professional Check-up
If you had your coating professionally applied, many shops offer an “annual maintenance” service. This is highly recommended. A professional caravan detailing in Sydney has access to professional-grade decontamination chemicals and can perform a specialized “decon wash” that safely strips away road film that consumer-grade soaps might miss.
Conclusion
Maintaining a car ceramic coating isn’t about working harder; it’s about working smarter. By ditching the abrasive brushes of the local car wash and adopting the two-bucket method with the right chemistry, you ensure that your car remains a showstopper for years. By following this guide and your own caravan detailing checklist, you can protect your investment from the elements year-round.
Now that you have the roadmap, it’s time to get out there and keep that shine alive!